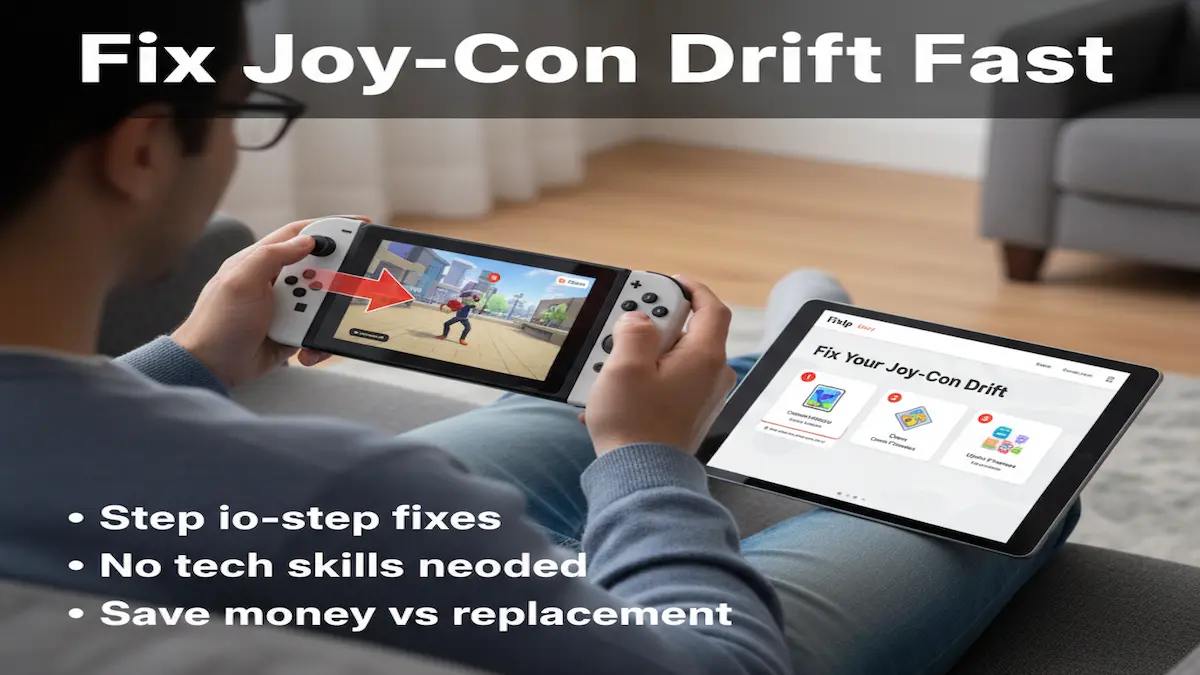
Drifting or unresponsive controller-wise, your custom Nintendo Switch controller isn’t the only one. Joy-Con drift and unresponsive buttons happen to be among some of the most treatment problems for Switch gamers, whether they are modded or customized. The silver lining? Sometimes, you won’t have to replace your controller; there are a few fixes to try right at home.
In this article, we discuss some reasons as to why your custom Switch controller may be drifting, why it may not be responding, and some step-by-step fixes to get it back into action.
What Causes Drift or Unresponsiveness in Custom Nintendo Switch Controllers?
Before jumping into the fixes, it helps to understand the underlying causes:
- Dust or dirt buildup inside maybe the analog stick.
- Worn-out joystick mechanism (especially when lots of gaming occurs).
- Loose connection due to custom modifications or repairs.
- Firmware issues leading to backward communication.
- Damaged flex cable or sensor inside the controller.
Simple Fixes for Drifting Custom Nintendo Switch Controllers
1. Calibrate the Analog Sticks
Path: System Settings > Controllers and Sensors > Calibrate Control Sticks.
Follow onscreen applications for joystick input realignment.
Most of the time, this easy fix is helpful for just a bit of drifting, in case the controller is not opened.
2. Cleaning Around the Joystick
- Clean away dust with compressed air or a brush.
- Apply a bit of isopropyl alcohol (70%+) around the stick with a cotton swab.
- Rotate the stick while cleaning to clear gaps inside.
- Let it dry completely before testing.
3. Upgrade Controller Firmware
Path: System Settings > Controllers and Sensors > Update Controllers.
This procedure ensures that your custom controller stays compatible with the latest Switch software.
4. Reset Controller Settings
- For 10-15 seconds, press and hold the sync button on the controller.
- Reconnect the controller to the Switch.
It may clear up any communication glitches with a fresh reset.
Solutions for Unresponsive Buttons or Triggers
1. Button Mapping Settings
Path: System Settings > Controllers and Sensors > Change Button Mapping.
If mapping was done on your custom controller, please reset it back to default mapping.
2. Loose Connection
If you have put in custom shells or changed buttons, slowly open the controller again.
- Look for any loose ribbons or misaligned buttons.
- Make sure to reseat any cables that may be disconnected.
3. Replace Damaged Parts
- Everything wears out ultimately including analog sticks and buttons.
- Replacement kits are available from many online stores (Amazon, eBay, iFixit).
You can change out the faulty parts using a small screwdriver kit in under 30 minutes.
Advanced Fixes (For DIY modders)
If cleaning and recalibration didn’t help:
- Joystick Replacement: This usually solves the drift case forever.
- Motherboard Re-Soldering: Loose joints’ re-soldering is possible for an advanced user, restoring the full responsiveness.
If your custom controller is too expensive or rare, go for professional repairing services instead of tossing it in the barrel.
When Should You Start Replacing Your Custom Controller?
If your custom controller:
- Still drifts after calibration and cleaning,
- Has unresponsive buttons after careful reassembly,
- Or displays error messages on the Switch,
Then your only option might be a replacement. Replacement of a custom controller sometimes costs lesser than endless DIY fixes.
Related Posts
Conclusion
A drifting or unresponsive custom Nintendo Switch controller can be frustrating, but the majority of the problems will come down to calibration, dust accumulation, or loose connections. Start with simple fixes, such as calibration and cleaning, and move on to part replacement if required.
Your Switch controller will be back on track for many years if you choose to follow these instructions, allowing you to enjoy hassle-free gaming without burning your pocket for replacements.